First of all, if you have a walking foot, use it. My primary machine is a Pfaff 1471 with a built in walking foot, but because this pulls from behind the foot rather that in front, I still had stretching when I sewed. A really good combination is Singer's rubber feed dogs (on older models) with the even feed foot. This has the capacity for extremely precise sewing, especially on difficult fabrics, as long as the machine will tolerate the fabric.
Secondly, make liberal use of laundry starch and let it dry before continuing. This seems to take forever and ironing doesn't speed up the process much. Sometimes spray starch is enough but other times it can be enormously helpful to make up a batch of Argo starch and dip your fabric in it before it is cut. The starch really helps control rolling edges and gives body to unruly lightweights that machines sometimes struggle with. However, my Singer combination described above just would not tolerate the lightweight T shirt knit shown below (this was before I learned about using boiled starch). Fortunately, my primary machine did, but if your machine is struggling there are a few things you can try. The only one I know off the top of my head is to sandwich the fabric between layers of tissue paper. Another thing that might help is to decrease presser foot pressure.
For edgestitching, adjust your needle position so you get as much fabric as possible under the foot. And obviously, you should be using ball point needles. Most knits require a seaming stitch with width, but if a straight stitch is used, it can be advantageous to use the straight stitch foot and throat plate.
Hemlines
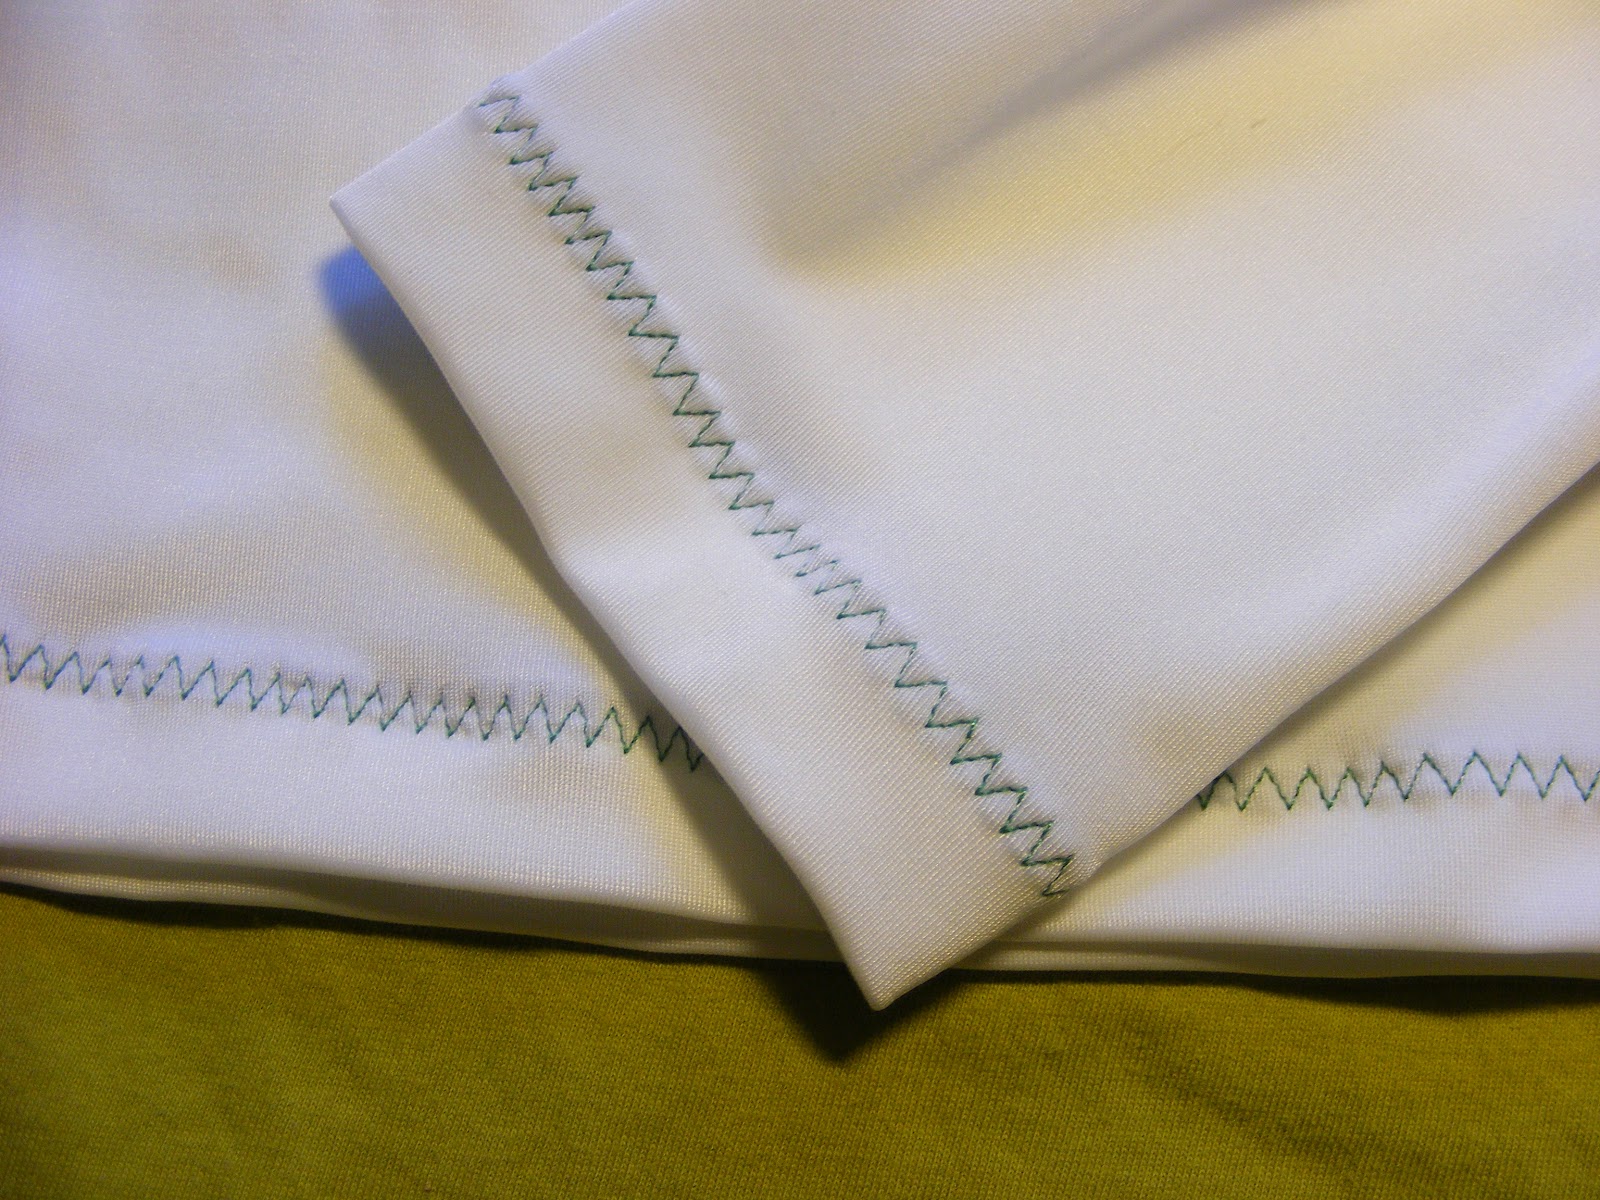
I did some internet research for hemming knits and almost every site recommended stitching the hem with a twin needle and woolly nylon in the bobbin. Even Nancy Zieman says to do it this way. The combination of zigzaging and built in stretch of the woolly nylon is supposed to give the seam a lot of stretch. Maybe it's just me, but every time I try to do this, I end up with a tuck between rows of stitching. Even if I manage to stabilize the fabric enough to stay flat during the stitching, as soon as I flex the seam, the tuck appears and won't go away. After lots and lots of experimentation, I came up with a good, flat hem solution for casual garments.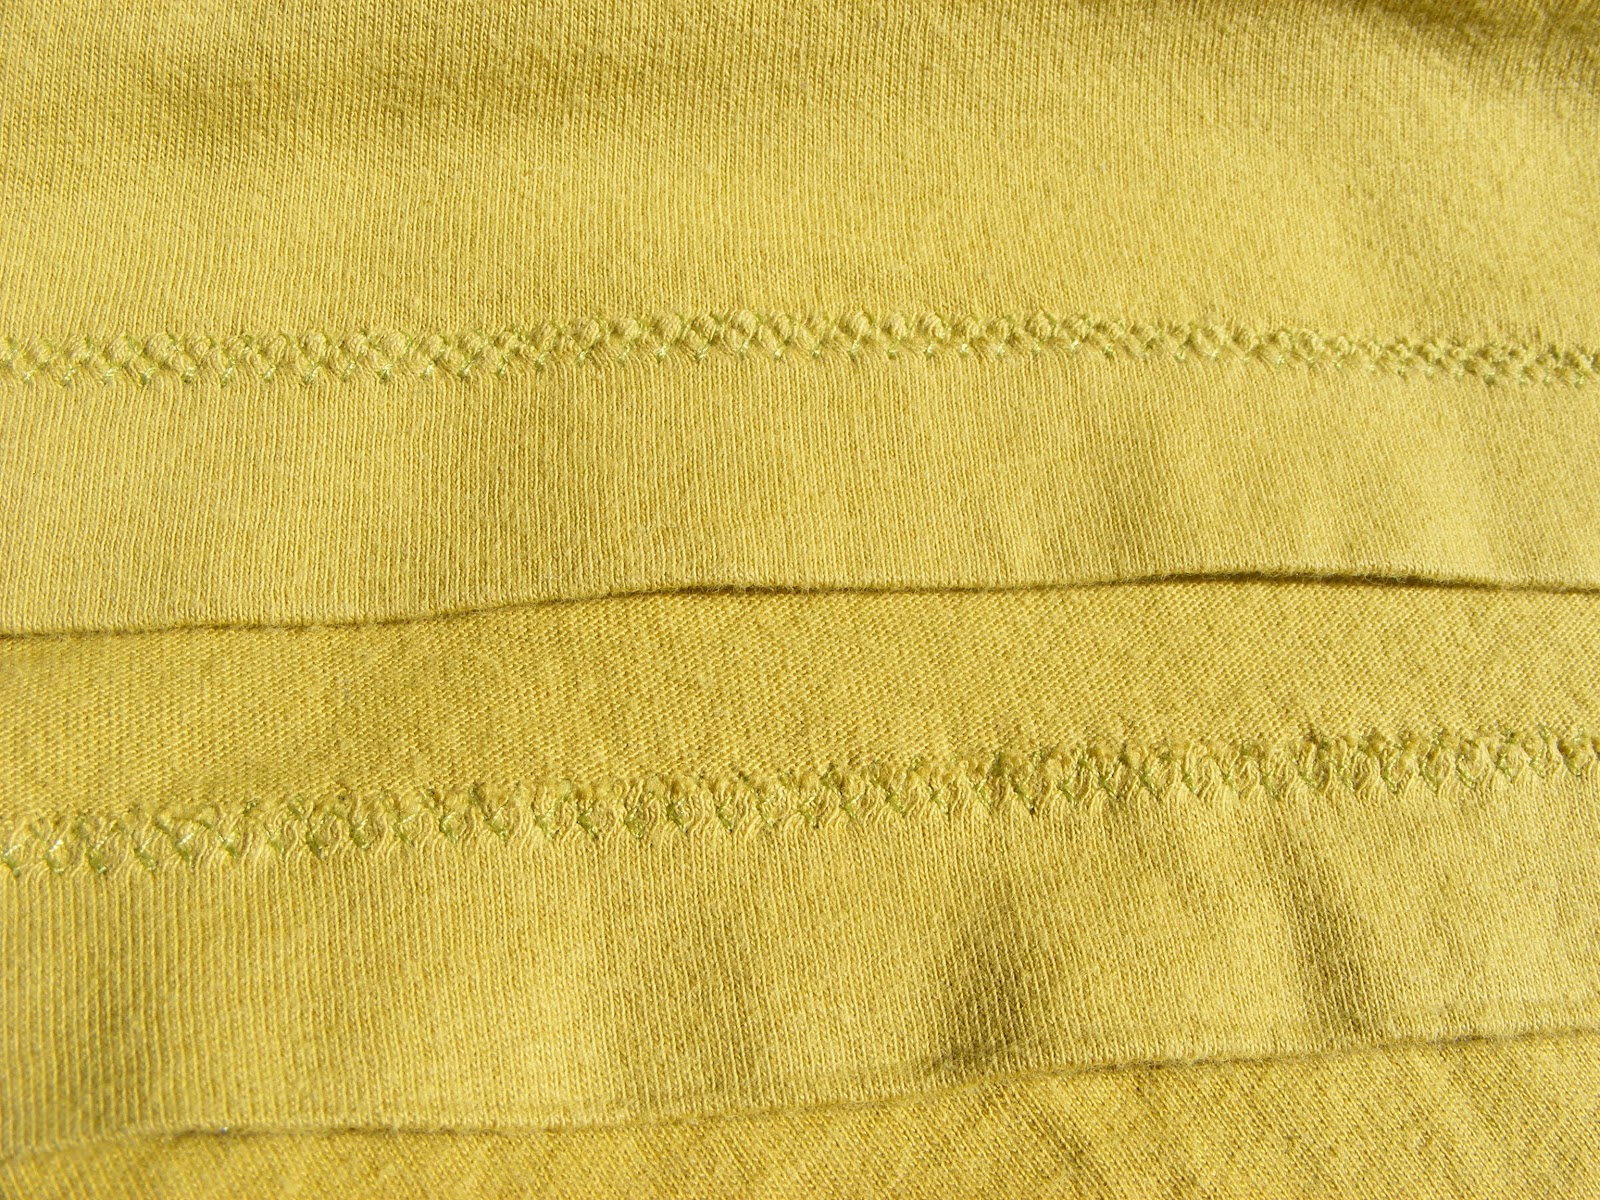 |
| Bottom row is wrong side |
Before I discovered this, I'd been finishing the edge with serging and zigzagging the hem seam:
 |
| You don't need to do this |
 |
| This just doesn't look as good. |

Here's one I thought was clever at the time:
If you have a fabric that still won't behave, you can fuse a strip of knit interfacing to the hem allowance before stitching. Steam-a-seam was recommended to me so I went out and bought some. When I used this, the hem was stiff and heavy and had no stretch at all. It made it look like masking tape was stuck to the underside of the fabric. You definitely want to use knit interfacing if you do this.
Necklines
Necklines give me the most grief. Almost any kind of treatment (binding, facing, turning under) comes out stretched or otherwise botched. Ripping stitches out of a knit is a nightmare and I've had to rip out many a neck treatment. My first attempt at making a neckline without ribbing was the under armour shirt mentioned above: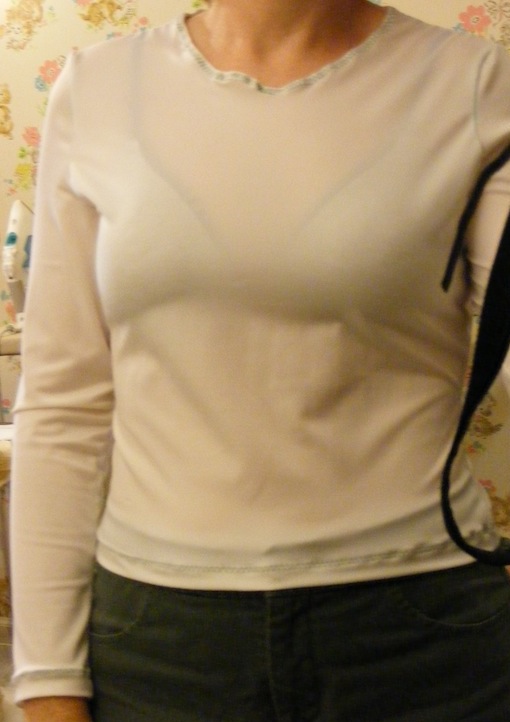
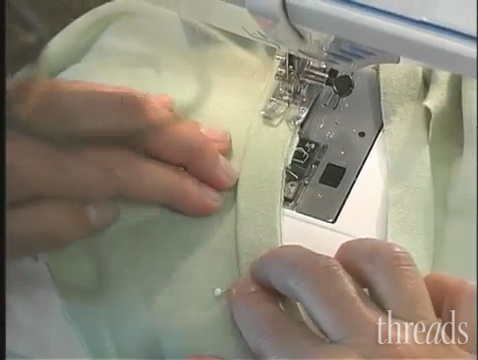
In the meantime, I learned how to make this from a back issue of Threads:

Encouraged, I went back to the under armour with my new technique. Now I have success!

A few hints that are in the video but not the article:
1. Sew the binding to the neckhole with the garment lying flat across the machine bed like this:
2. Stretch in the same areas as you did when determining the length of the binding, i.e. more for sharper curves and less for shallow ones.
3. Don't stretch the bodice while sewing if you can help it.
4. You may need to stretch the seam slightly while serging.
5. Use a wider seam allowance when serging in order to cover the basting stitches. This is where I go wrong a lot. Having an adjustable seam guide on your serger is invaluable.
You can sew a piece of ribbon over the seam allowance to stabilize the back of the neck if it wants to stretch too much.
Here's another method that looks promising. I haven't tried this yet, but it looks like it will work if you can control the stretching as the fabric passes under the foot.