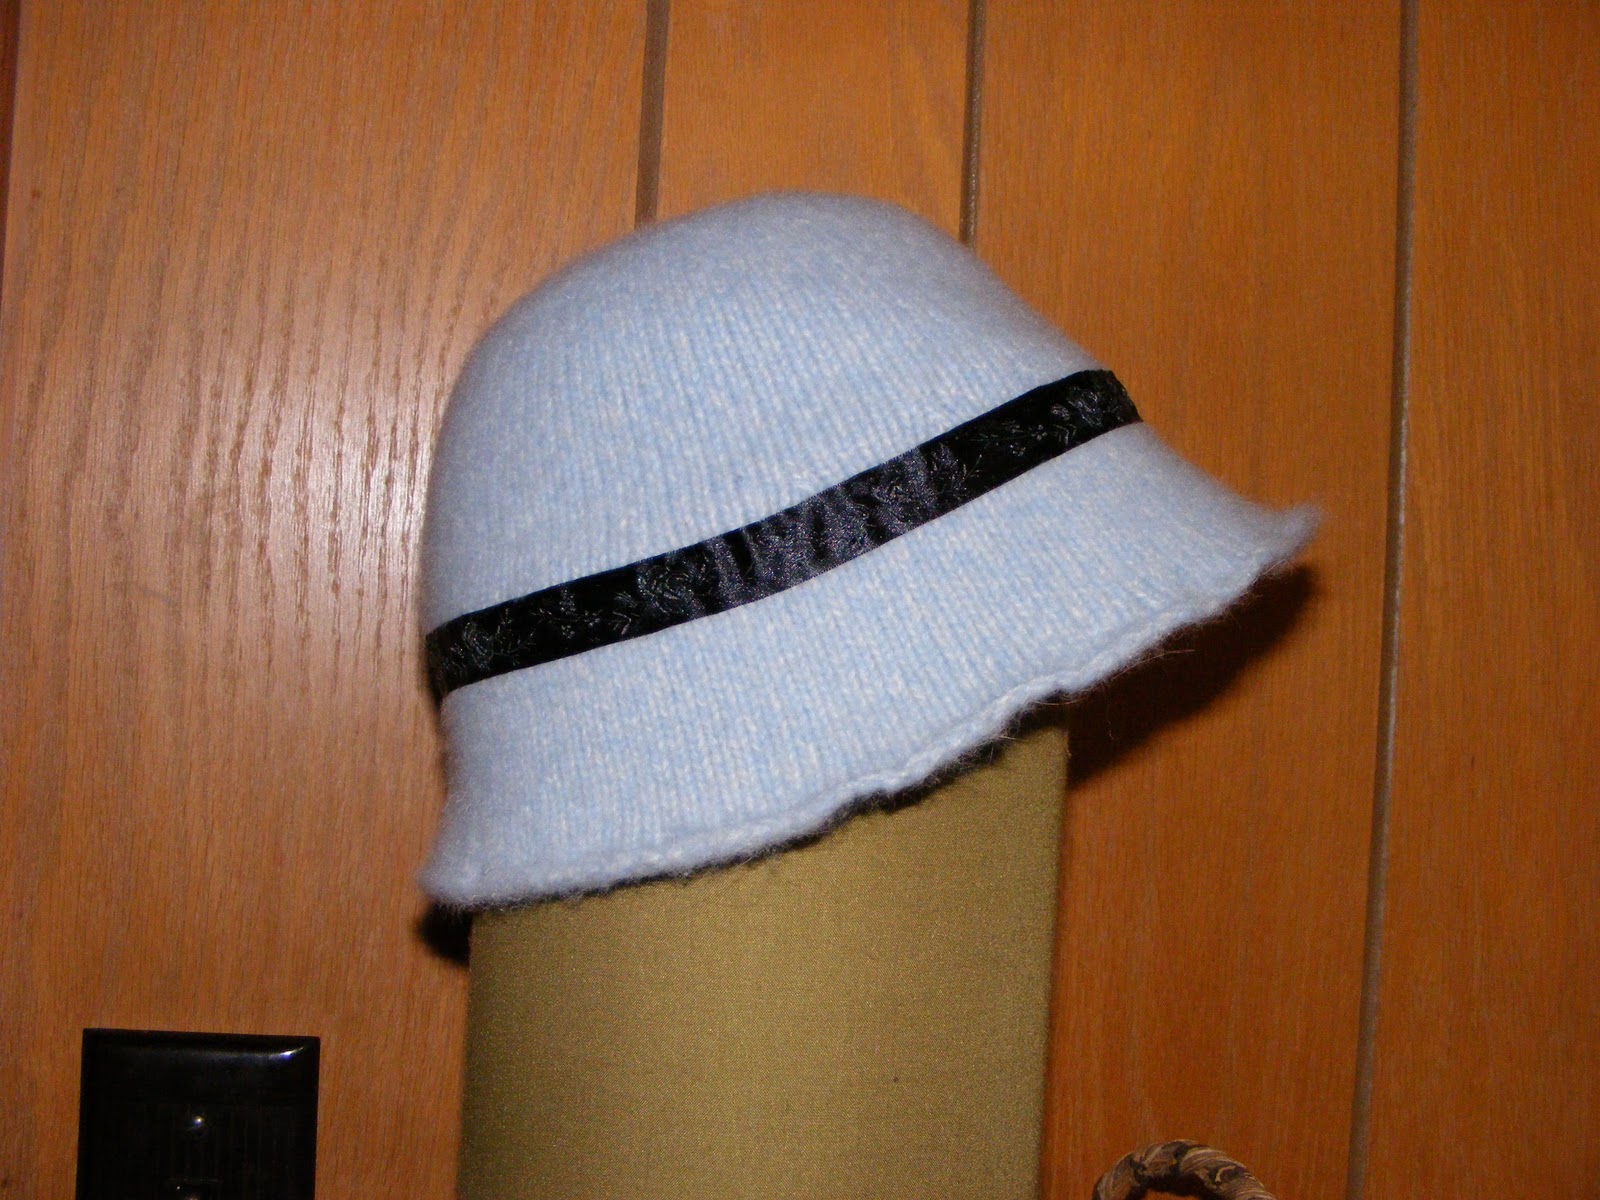
I wanted to make a felted cloche because I wanted a winter had that didn't squeeze my head, but the only patterns I could find were for hand knitting, and I only found a couple of those. I adapted a hand knitting pattern intended for bulky yarn and this is what I came up with.
I think it looks more like a bowl than a cloche when I'm wearing it. I think I need to re-block it so the sides don't flare out as much. If I make it again, I need to make the brim wider.
Here is the pattern:
You'll want to have a garter bar on hand if you try this.
Head 20.5 inches, gauge 6.95 stitches per inch, 12 rows per inch. I felted it by washing in hot water with 20 minutes agitation followed by a cold rinse and then putting in dryer. This resulted in stitch gauge shrinkage of 11% and row shrinkage of 21%. The gauge given above was measured after felting. My swatch before felting measured 25 stitches and 38 rows (measuring 40 sts and 60 rows), and 28 stitches and 48 rows afterwards. I knitted at a tighter tension, T8, because I wanted firmer fabric after felting. The wool was recycled from a thrift shop sweater so I don't know the weight except that it was approx. sport weight.
Closed edge cast on 144 stitches.
Knit 31 rows.
Decrease evenly to 124 stitches.
Knit 2 rows
Decrease evenly to 108 sts
knit 30 rows
decrease evenly to 96 sts
K 5R
Decrease evenly to 84 sts
K5R
Dec evenly to 64 sts
K5R
Dec evenly to 44 sts
K5R
Dec evenly to 24 sts
K5R
Dec evenly to 12 sts
Knit 1 row
Cut yarn leaving tail long enough to sew seam and thread through remaining stitches.
Pull stitches tight and sew seam
Felt and block. Starch or sizing will help set the brim.
If your fabric is hairy after felting, a disposable razor is good for removing fluff.
Here is how I blocked it:
I put 2 folded bath towels over a quart jar for 4 layers of fabric. I put a small mixing bowl over the jar and stretched the hat over the bowl. The bowl was 2" larger than my head. Don't know if that's good or bad. I pinned the brim to the towels and stuffed washcloths under the towel where the brim wasn't round to fill it out. I soaked the wool with water, then saturated it with starch. The starch will foam if you use the aerosol kind, so pat it into the fibers. Then I waited 3 days. Even though the hat isn't stiff, it still holds its shape well and hasn't gotten floppy.
To make it look less like a bucket, I stitched a ribbon around the crown.